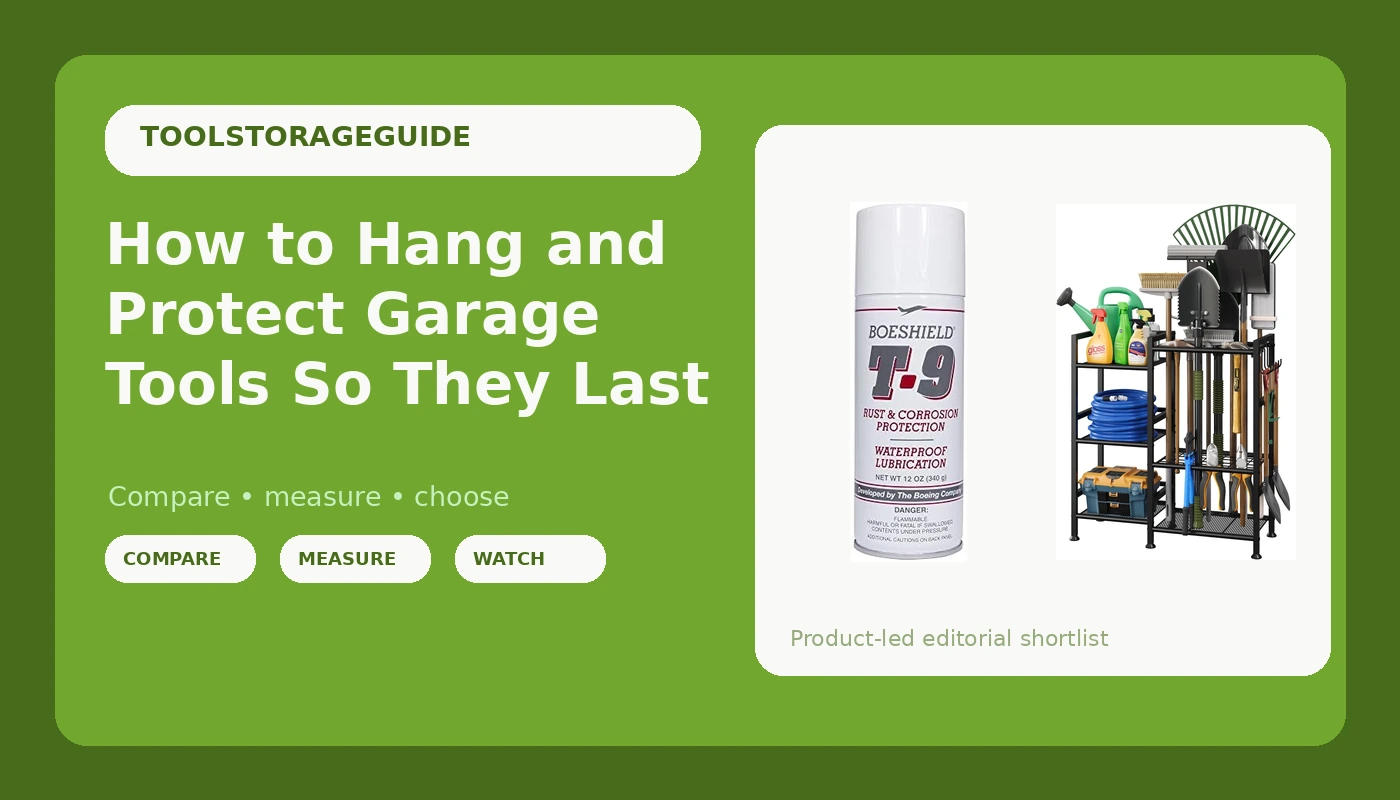
A garage tool storage rack does two jobs, and most people only pay for one of them. The first job is obvious: get the shovel, the rake, the trimmer, and the extension cords off the floor so you can actually walk through your own garage. The second job is quieter. Getting tools off the concrete and up into open air is the difference between a shovel you keep for fifteen years and a shovel you replace every third spring.
I'm Ray. I've been a diesel mechanic for sixteen years, and my home shop in Columbus started as one toolbox and metastasized into three. I've organized storage for coworkers, for apprentices, and for every friend who ever bought a starter set and then wondered why the garage felt smaller every month.
Here's the short version before the details. Sort tools by how often your hand actually touches them. Mount the rack into studs, not drywall anchors. Hang long and heavy items low and near the door. Then treat every bare steel surface with a rust inhibitor before it goes up, because a hook holds a tool in place but it does not stop moisture. That is the whole job, and it fits in an afternoon.
Why you should trust me
Sixteen years under trucks teaches you what happens to steel in an unheated building. I've pulled wrenches out of trucks that sat outside all winter and wrenches out of trucks that lived in a heated bay, and the difference is not the brand on the handle. It's whether the metal ever got a chance to dry.
My shop rules come from that. Drawer slides are the soul of a toolbox, so ball bearings or nothing. Weight ratings are measured with the load spread evenly, and a drawer full of sockets is not even. And the best storage is the kind that makes putting a tool away easier than leaving it out, because that is the only organization system that survives a busy Tuesday.
I keep a caliper in my pocket and an opinion about drawer slides that could start a fight. I don't review storage from a catalog photo. The rack and the inhibitor in this guide are the two things I would put on my own wall before I spent another dollar on a chest, because they solve the problem that a chest cannot: the long-handled stuff and the rust.
How I picked and how I tested
I'm not going to hand you lab numbers I did not collect, and I'm not going to pretend I ran a corrosion chamber in my garage. What I can tell you is what I check before anything earns wall space in my shop, and you can check the same things in about ten minutes.
For a rack, I grab a hook and pull on it. If the hook flexes, the tool will sag away from the wall and the whole row looks like a bad fence. I look at the mounting plate and count the holes, because a plate with holes spaced for standard studs is a rack that goes up straight, and a plate with two holes in the middle is a rack that ends up in the trash. I check whether a tool comes off the hook with one hand, because if it takes two hands, nobody in your house will ever put it back.
For an inhibitor, the questions are different. Does it go on thin, or does it leave a wet film that collects sawdust and grit? Does it dry to something that stays put, or does it run off the tool onto the floor? Can you spray it on a bare steel surface, a cast iron table, and a set of pliers without turning everything into a greasy mess? That last one matters more than any spec sheet, because a treatment you avoid using is a treatment that does not work.
Everything below is judged against those checks, not against a marketing bullet.
The gear you'll need before you start
You need two things: a place for the tools to live, and something to keep the steel from rusting while it lives there. Buy both before you start pulling things off the wall, so you are not making a second trip with a pile of shovels on the floor.
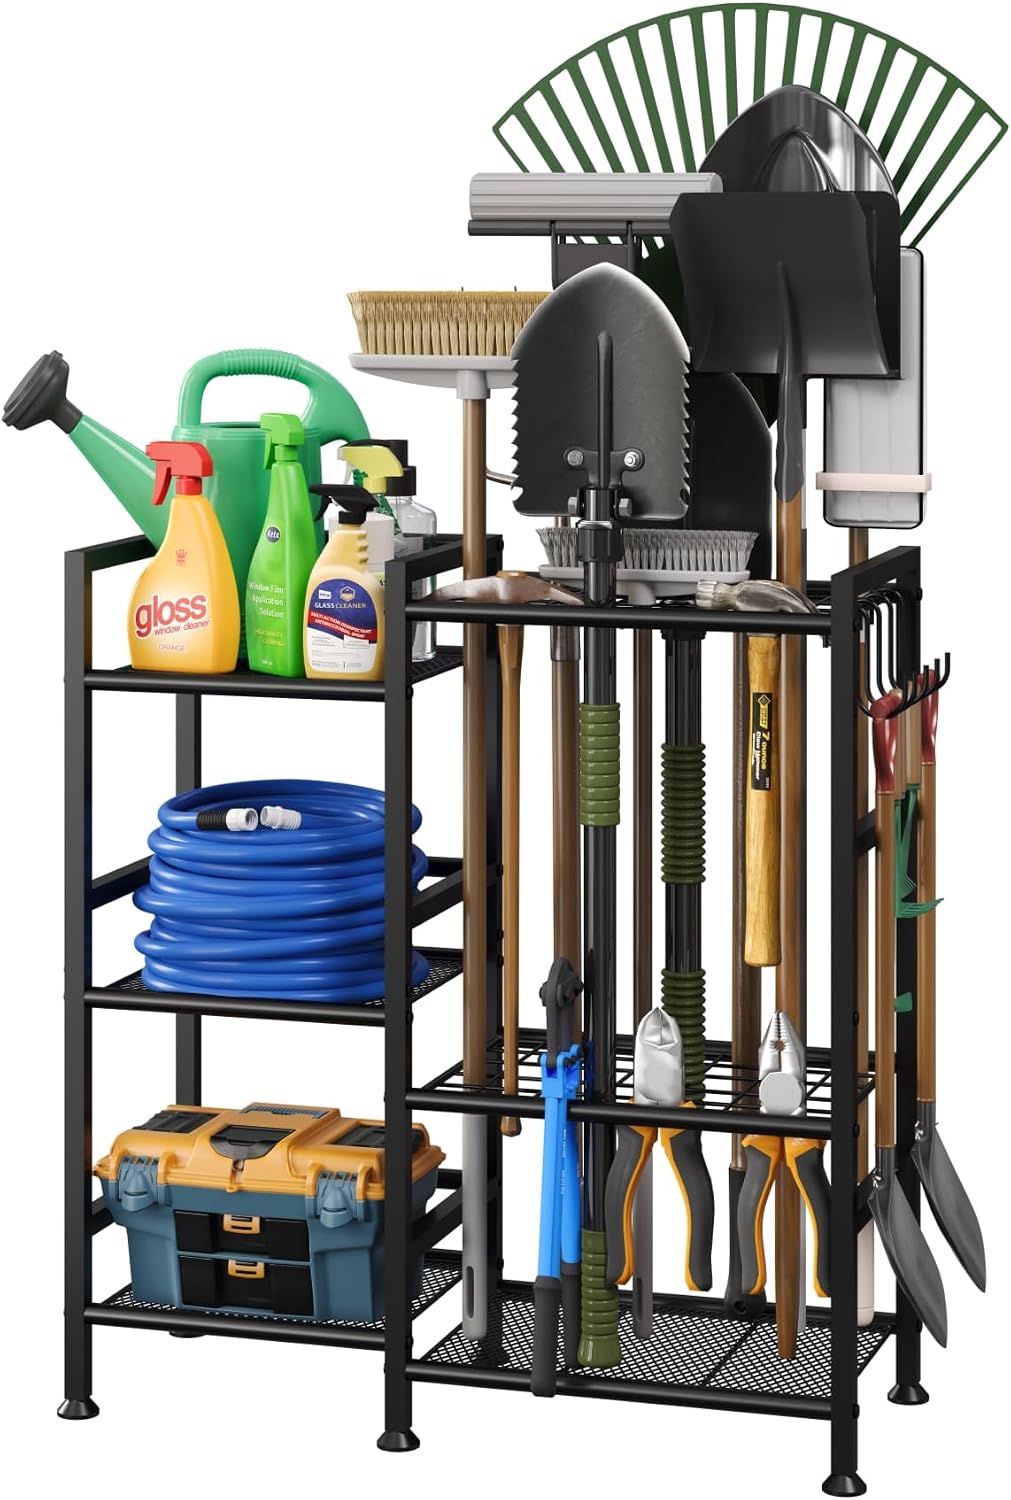
The rack: keomaisyto Garden Tool Organizer with Large Hooks, Garage Storage Rack
 Visit on Amazon →
This is the piece that gets the long-handled tools off the concrete. The large hooks are the reason it works for a garage and not just a garden shed: a rake handle, a broom, a trimmer shaft, and a set of jumper cables all need more hook than a bicycle hanger gives you. Check current Amazon price before you order, and check your stud spacing while you are at it.
The thing I care about with any wall rack is whether the hooks hold their shape under a real load. A flat shovel leaning on a hook puts a surprising amount of leverage on it, and a hook that opens up over a season turns your neat row into a leaning pile. Read the listing photos and look at how the hooks attach to the back plate. A hook that is welded or formed out of the same piece as the plate is going to behave better than one that is screwed on with a single bolt.
Flaws but not dealbreakers: A wall rack is only as good as what you bolt it to. Drywall anchors will not hold a shovel, and they will not hold a trimmer. Find the studs, mark them, and use real fasteners.
Anyone with a one-car garage wall and a pile of long-handled tools on the floor will get the most out of this.
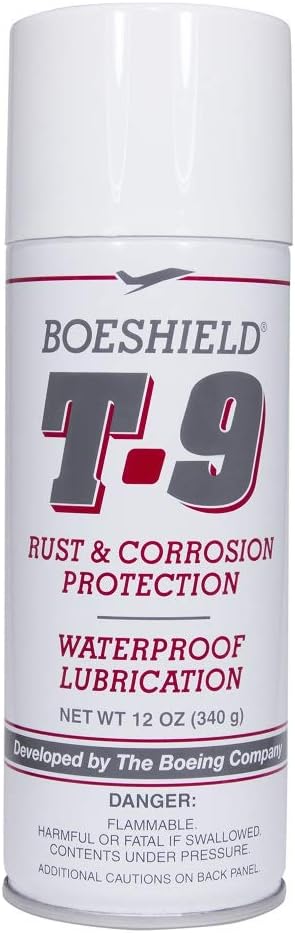
The protector: BOESHIELD T-9 Rust & Corrosion Protection/Inhibitor and Waterproof Lubrication, 12 oz.
 Visit on Amazon →
Hanging a tool does not make it rust proof. It makes it dry faster, which is half the battle, and the other half is a thin film of inhibitor on the bare steel. This is a spray-on rust and corrosion inhibitor that also does duty as a waterproof lubricant, which is the combination you want for garden tools, bare steel handles, cast iron tables, and anything that lives near a garage door that opens and closes all winter. Check current Amazon price before you commit to a can.
The way to use an inhibitor is thin. One light pass, let it flash, and if you can see wet patches running down the metal, you used too much. A heavy coat collects grit, grit holds moisture against the steel, and you have built yourself a worse problem than the one you started with. Two thin coats beat one wet coat every time.
Flaws but not dealbreakers: A 12 oz. can goes faster than you expect if you are treating a whole wall of tools and a bench top in the same session. Buy one can for the tools and plan a second pass in the fall.
Anyone in a humid climate, a coastal area, or a garage that sees snow melt dripping off a car should keep a can of this on the shelf.
The actual workflow
Now the part you came for. This works on any garage wall, in any climate, with any rack that mounts to studs.
Step one: Empty the wall and the floor. Pull everything out and pile it in the driveway. You cannot sort a pile you cannot see, and half the tools on your floor are duplicates you forgot you owned. This step takes twenty minutes and saves you from buying a second rack you don't need.
Step two: Sort by touch frequency. Three piles. Every day or every week, a few times a season, and once a year. The daily tools go at chest height near the door, because the tools you use most should take the least effort to reach and the least effort to put back. The once-a-year tools go high, because you don't mind reaching.
Step three: Find your studs and mark them. A stud finder, a pencil, and a level. Mark both edges of each stud so you know where the center is. This is the step people skip, and it is the reason so many racks end up crooked or on the floor with a chunk of drywall attached.
Step four: Mount the rack at the right height. The bottom of the hooks should sit above your knee and below your shoulder. Too low and long handles drag on the floor. Too high and you need a ladder to hang a rake, which means the rake ends up on the floor again.
Step five: Load heavy and long items low, close to the door. Shovels, rakes, and pry bars are heavy and awkward. Keep them near the door so you are not carrying a loaded shovel through the whole garage, and keep the weight low so the rack is not fighting a lever arm.
Step six: Clean the tools before they go up. Mud and grass hold moisture against steel, and moisture is the whole enemy. A wire brush on the head of a shovel takes thirty seconds. Do it now, not later, because later never comes.
Step seven: Treat the bare steel. A thin coat of inhibitor on shovel heads, rake tines, axe heads, bare handles, and anything with a spot of surface rust already starting. Let it dry before the tool touches anything else. If a tool has heavy flaking rust, knock it off with a wire brush first, then treat.
Step eight: Give every tool a home and label nothing. If you have to read a label to find a tool, the system failed. If you have to think about where something goes, the system failed. Every tool has one hook, and it goes back on that hook because that hook is the obvious place.
Step nine: Re-treat in the fall. One pass before the wet season, one pass in the spring if your garage sees condensation. Two minutes with a can beats replacing a $40 shovel and a set of loppers every year.
What I left out and why
A few storage categories did not make this guide, and you should know why before you spend money.
Resin cabinets are fine for pool chemicals and birdseed, but they are not tool storage no matter what the box says. Plastic flexes, hooks pull out of it, and the moment you put real weight on a shelf it starts to bow.
Anything with friction slides is out. On a toolbox, friction slides are a slow-motion failure, and by year two you are pulling drawers with both hands while the drawer fights you the whole way. That is a storage system that makes putting tools away harder than leaving them out, which is the exact opposite of the job.
Keyed locks on a garage box are another one I skip. Nobody uses them, the key goes missing, and you have added a step to every tool retrieval for a security feature that protects nothing.
This guide is about the wall and the steel, not about which chest to buy. That is a different conversation, and it depends on how many tools you own and whether you ever plan to move shops.
What this all costs
Here is the math I actually run. A rack and a can of inhibitor together cost less than one mid-grade ratchet, and they protect everything on the wall behind them. Compare that to replacing a shovel, a rake, a set of loppers, and a pair of pruners every couple of years because they sat on wet concrete all winter.
The rack is a one-time purchase. The inhibitor is a consumable, so budget for a can in the spring and a can in the fall, which works out to pennies a day across the tools it covers. That is the best value in the shop, and it is not close.
The part that costs nothing is the discipline. Tools go back on the hook because the hook is where they belong, and the hook is where they belong because you put it at the height your hand naturally reaches. Do that once and your garage stops being a place where tools go to rust and starts being a place where tools go to wait.
That's the job. Get them up, keep them dry, and put them back.