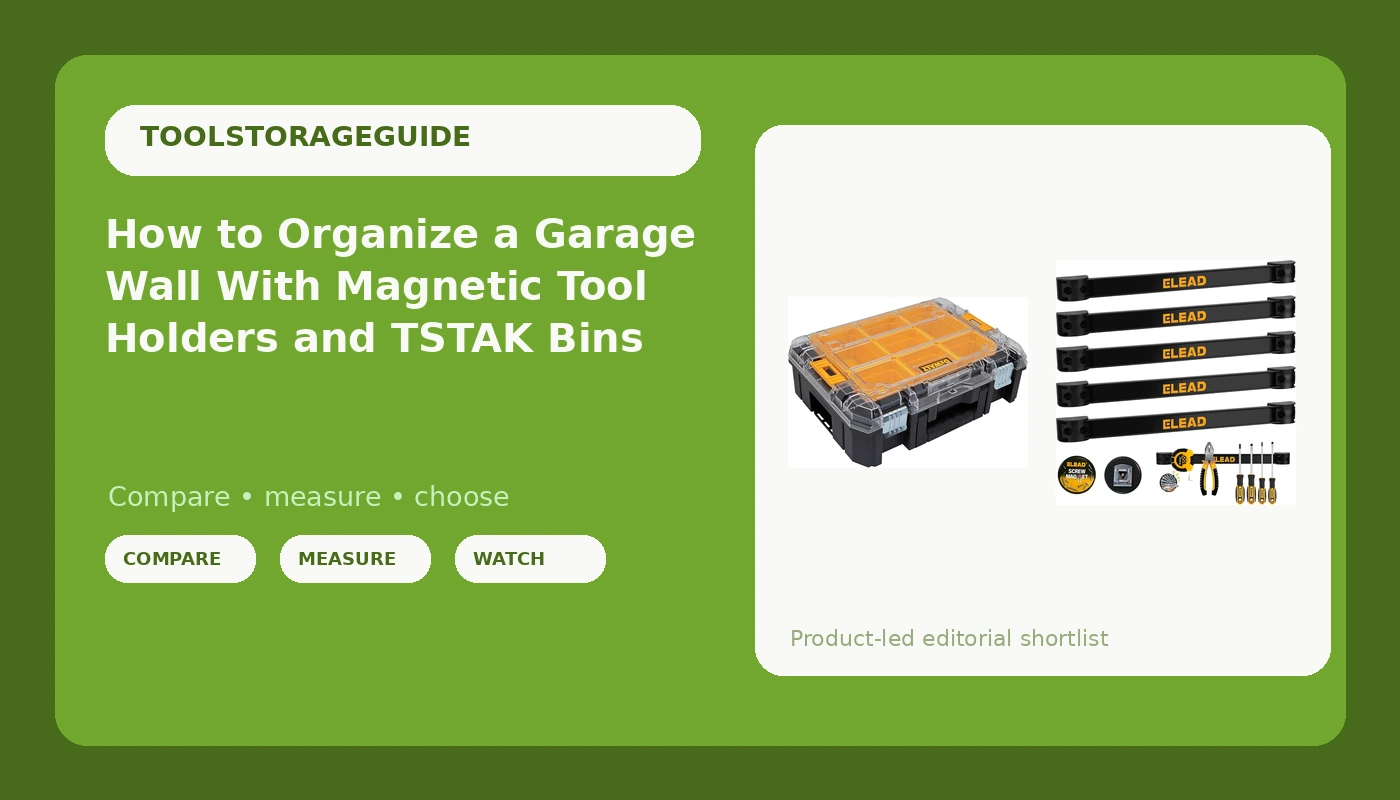
Most garages do not have a storage problem. They have a retrieval problem. Every tool is in there somewhere, but putting a wrench back costs four seconds more than dropping it on the bench, and that four seconds is why the bench is a disaster by Friday. Magnetic tool holder wall storage kills that delay, and it does it for less than the price of the socket you lost last month.
I am not going to sell you a chest here. I have organized tool storage for myself, for the guys I turn wrenches with, and for every friend who bought a starter set and then called me because the lid would not close. The pattern never changes. People buy a bigger box, fill it, and still hang the same eleven tools on the wall, because those are the eleven they touch every shift. So build the wall first and stop asking a drawer to do a wall's job.
This is a how-to for one specific job: getting your daily-use hand tools and your loose small parts out of the pile and onto a system that survives a real work week. Two pieces carry most of the load. The rest is order of operations, and order of operations is the entire ballgame.
Why you should trust me
I am 39, I live in Columbus, and I have been a diesel mechanic for 16 years. My home shop started as one Craftsman box and metastasized into three. I have loaded drawers with full socket sets, slammed them shut more times than I can count, and formed opinions about drawer slides that have ended conversations. I keep a caliper in my pocket and a tape measure on the bench, and I have reorganized the same 12 feet of wall in my own shop four times because the first three layouts were wrong.
The thing that finally stuck was the thing that made putting a tool away easier than setting it down. Not prettier. Easier. That is the only standard I care about, and it is the standard this whole guide is built on.
How I picked and how I tested
This is not a chest buying guide. It is a wall and small-parts guide, so the gear list is short on purpose: one magnetic holder setup for the tools you grab every shift, and one compartment case for everything that rolls, rattles, or vanishes into a drawer.
For a magnetic holder, I care about three things. Does it hold a combination wrench by the handle without creeping down the bar when you brush past it. Does it mount with screws, because adhesive-backed strips let go on a cold garage wall the first time the temperature swings. And does the set give you enough separate bars to space things out, instead of stacking everything on one strip until it becomes a clump.
For a small-parts case, the test is simpler. Load it with the stuff that actually lives loose in your shop, carry it by the handle across the driveway, and see whether the compartments are still where you left them. A case that dumps its contents the first time you tilt it is a box with extra steps.
I also weigh every piece of gear against the alternative, which in a shop is always the same alternative: a drawer. A drawer is great for volume and terrible for frequency. Anything you touch more than twice a shift should not live behind a handle.
What you need before you start
Two pieces, and neither one is a chest. One goes on the wall for reach, one goes on the shelf for small parts. Buy both before you start pulling things apart, because the moment your bench is empty is the moment you want to be hanging hardware, not driving to the store.
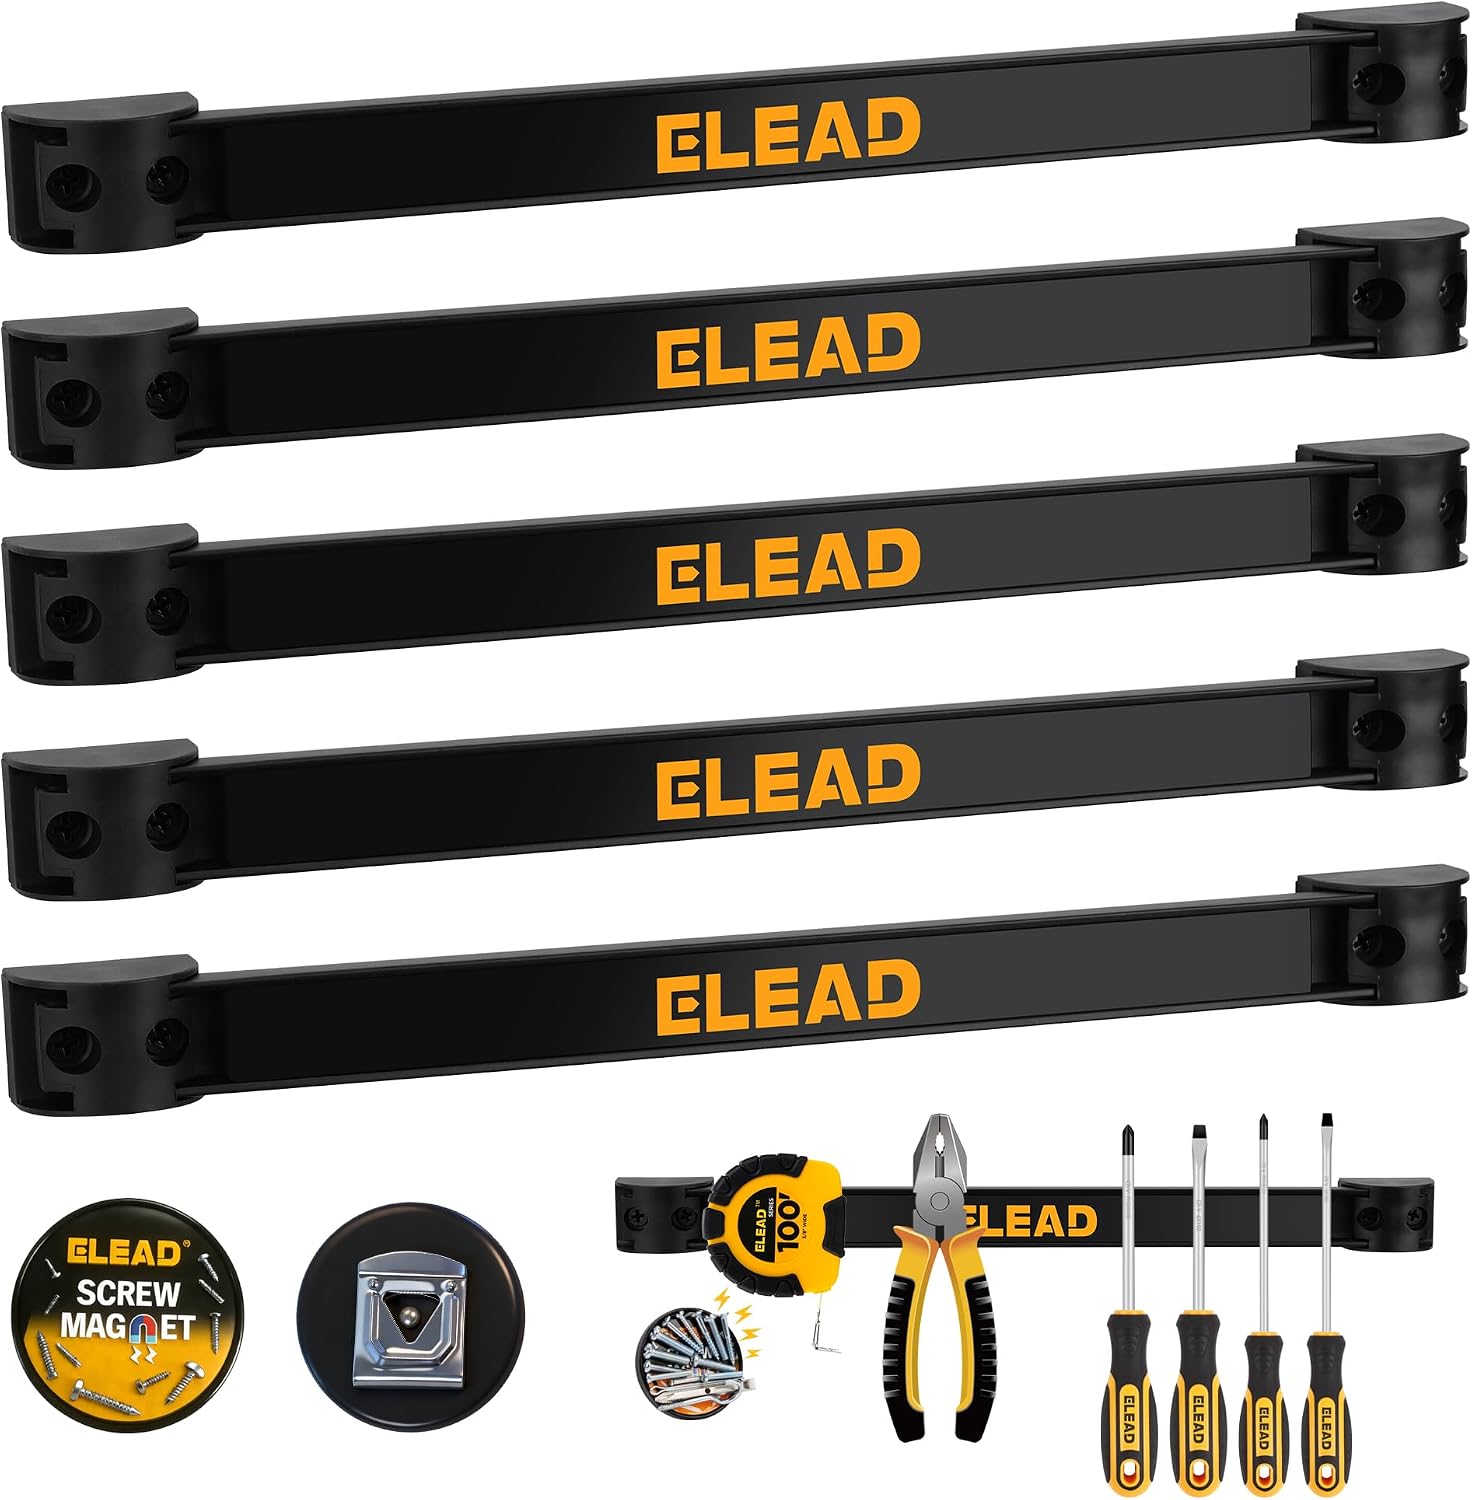
Our pick: ELEAD 6-Piece 12" Magnetic Tool Holder Storage Organizer - Wall Mount Rack Garage Organization Power Magnet Hanger Workbench Board Slatwall Van Organizers Mounted Hanging Strip
 Visit on Amazon →
Six separate bars instead of one long strip is the reason this is the pick. You get to space them to match your actual tools: one bar for combination wrenches, one for the screwdrivers you reach for, one for pliers, and the leftovers for the odds and ends that never had a home. Six bars also means you can put a gap between the heavy stuff and the light stuff, which matters because a strip loaded unevenly is a strip that lets things creep.
Mount it with screws, not the adhesive. A garage wall in Ohio swings from freezing to swampy, and tape does not care how good the tape is. I put mine at chest height to the right of the bench, which is where my hand already goes when I am done with a wrench.
Flaws but not dealbreakers: Magnets are magnets. They will not hold a 24-inch breaker bar, and they will not hold an impact socket the way a rail will. This is a daily-use strip, not a heavy-duty rack. Keep the big stuff in the chest.
Anyone who keeps their most-used hand tools in a pile on the bench will get their value out of this in the first week.
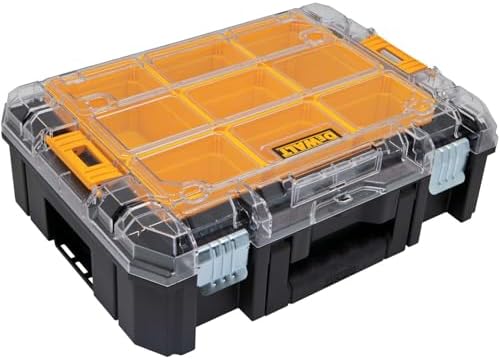
Also great: DEWALT TSTAK Tool Organizer, Small Parts and Screw Organizer Tool Box with Removable Compartments, (DWST17805)
 Visit on Amazon →
This is the piece that fixes the loose small parts problem. The removable compartments are the feature that matters, because you can pull one bin out, carry it to the job, and put it back without dumping the other five. Screws, washers, hose clamps, fuses, cotter pins, electrical connectors, all of it in one place with a lid on it.
It also stacks with the rest of the TSTAK line, which matters if you already run that system or plan to. And it is a case, not a chest, so treat it like one. It is not waterproof, and if you flip it over with the compartments loaded and the lid open, gravity wins. That is true of every compartment case ever made.
Flaws but not dealbreakers: The compartments are removable, which means they are also losable. Label the case and keep it on the shelf instead of floating around the bench.
Anyone with a coffee can of mystery fasteners on the shelf needs this more than they need another drawer.
The actual setup, step by step
Now the part you came for. Budget an afternoon. Most of that time is sorting, not drilling.
Step one: Empty the bench and the wall. Everything comes off. Yes, everything. You cannot organize a pile you are still working out of, and the pile is the reason you are reading this. Put it all on the floor or a folding table and accept that the shop is unusable for two hours.
Step two: Sort by frequency, not by category. This is the step everybody skips. Do not make a wrench pile and a plier pile. Make three piles: tools you touched today, tools you touch most weeks, and tools you touch once a season. The first pile goes on the wall. The second goes in the top drawer of the chest. The third goes wherever it fits, because you are not going to reach for it anyway.
Step three: Pick the wall spot before you drill. The strip belongs within arm's reach of where you actually work, not on the wall that happens to be empty. Mine is chest height, to the right of the bench, over a clear stretch of floor so I can step back with a tool in my hand. If you have to walk to put a wrench away, you will not put the wrench away.
Step four: Mount the bars with screws into something solid. Drywall anchors are for pictures. Find a stud, or put up a backer board and screw into that. Space the bars so your longest daily-use tool fits without overlapping the next bar, and leave a gap between them. Crowding bars together is how you end up with everything on one strip and nothing where you left it.
Step five: Load from the bottom up. Heaviest tools on the lowest bars. Wrench handles down, heads up, so you grab the handle and the head clears the strip. If a tool slides when you brush past it, the bar is either overloaded or the tool is too heavy for a magnet, and it belongs in a drawer.
Step six: Give the small parts a home in the case. Assign compartments by job, not by size. One bin for the fasteners your most common repair uses. One for electrical. One for the random hardware that does not have a category yet. The point is that when you need a flange nut, you open one lid and look in one bin.
Step seven: Run the two-week put-away test. For two weeks, pay attention to what you actually reach for. Anything on the wall you have not touched in two weeks comes off and goes in a drawer. Anything you keep pulling out of a drawer gets promoted to the wall. The wall is not a display. It is a shortcut, and shortcuts get edited.
Step eight: Label the case and stop reorganizing. Write on the lid with a paint marker, then leave it alone. The failure mode for every shop organization project is the guy who rearranges everything every month and never builds muscle memory. Pick a layout, label it, and let your hands learn it.
Mistakes that undo the whole setup
Putting the strip where the grinder throws sparks. Metal dust sticks to a magnet bar like iron filings to, well, a magnet. If your strip lives next to your cutting and grinding station, it will grow a beard. Keep it on the clean side of the shop.
Hanging the strip directly over the bench. If the bars sit right above your work surface, you will knock tools off them every time you flip a part over. Give the strip its own stretch of wall.
Treating the case as a toolbox. A compartment case is for parts, not for a hammer. Load it with small parts, close the lid, put it on the shelf. The moment you start throwing hand tools in it, the compartments stop being compartments.
Ignoring what magnets do to other things. Do not park the strip next to your phone, your laptop, your bank cards, or anything with a magnetic stripe or a spinning drive. If you wear a mechanical watch, keep it away from the bars too. This is not a reason to skip magnetic storage. It is a reason to mount it thoughtfully.
Buying storage before doing the sort. The sort is free and the storage is not. Sort first and you will buy less.
The alternatives and why they lost
Pegboard is the classic answer and it still works, but hooks pull out and every hook you own is a different size. A magnetic bar takes any tool with a steel shank, which is most of them, and it does not care what shape the tool is.
A drawer full of socket rails and dividers is excellent for volume, and I still run one for the tools I use less often. It is the wrong tool for the eleven things I grab every shift, because a drawer is a door between me and the tool.
Loose bins on an open shelf are cheap and they work right up until you need a specific size and end up pawing through three of them. A compartment case with a lid and removable bins does the same job with one handle and no pawing.
A rolling chest on casters is the right answer for a mobile setup, and I would never talk anyone out of one. It is just a different job than the wall. Casters solve the moving problem. The wall solves the frequency problem.
What this all costs
Here is the honest math, and it has nothing to do with the sticker on the box. Both pieces here cost less than one decent ratchet, and they save you the two things you cannot buy back: time and lost hardware. The magnetic bar set covers your wall for about the price of a couple of sockets. The compartment case covers your small parts for roughly the cost of takeout dinner for the family.
Compare that to the alternative most people pick, which is another chest. A chest costs many times more, and it does not solve frequency. It just gives the pile a nicer place to live.
Over a year of daily use, the wall setup costs you pennies a day and the case costs less than that. The sort costs nothing but an afternoon. That is the whole investment.
Do the sort. Mount the bars with screws. Give the small parts one lid and one home. Then run the two-week test and edit the wall until it matches the way you actually work.
That is the job. A clean toolbox is a fast toolbox, and the wall is what keeps it clean.