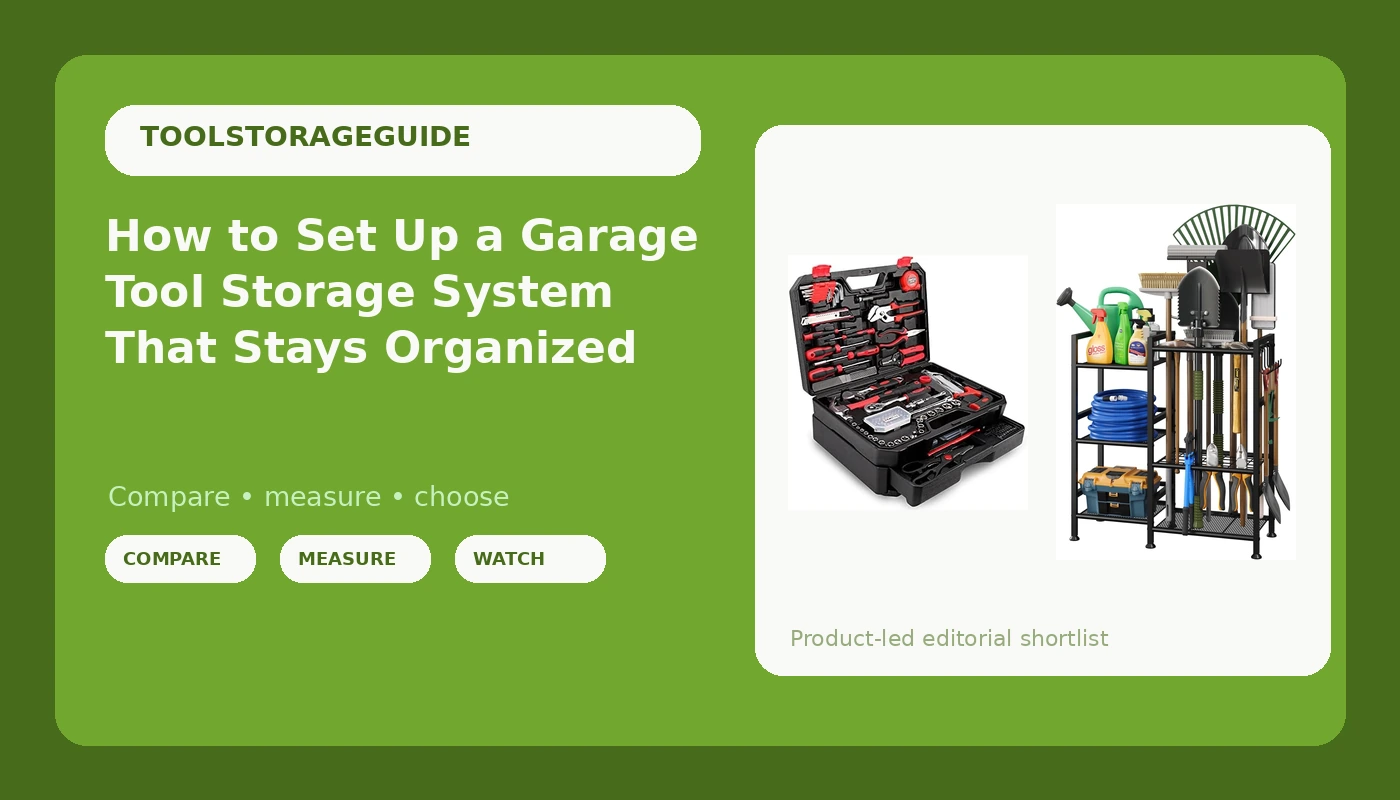
Most garages do not have a tool storage problem. They have a put-away problem. The tools are fine, the wall is fine, and the bench is the only thing suffering. What is missing is a home that is easier to use than the nearest flat surface, and until that home exists, every horizontal plane in the shop becomes a shelf.
I have watched this happen in my own garage more than once, and I have fixed it for coworkers, neighbors, and one apprentice who lost three 10mm sockets in a single week. A garage tool storage setup that holds comes down to two decisions: what carries the tools, and where the empty space lives. Get those right and the shop stays clean without willpower, discipline, or a weekend you will never get back.
Below is the setup I would hand a homeowner starting from zero, followed by the order I would install it in.
Why you should trust me
I have been a diesel mechanic for 16 years, and my home shop started as one toolbox and metastasized into three. I have organized tool storage for myself, for the guys on my shift, and for every friend who bought a starter set and then called me at 9 p.m. because nothing fit anywhere.
I judge storage the way a shop uses it: daily drawer slams, an 80 pound socket set, and the three shift test where tools actually go back where they belong. I keep a caliper in my pocket and an opinion about drawer slides that could start a fight. The best tool storage is the kind that makes putting a tool away easier than leaving it out, and that is the only standard I care about in this article.
How I picked and how I tested
The two pieces below are not the fanciest storage in the catalog. They are the two that solve the problem a disorganized garage actually has: hand tools with no home, and long handled tools with no wall.
The checklist I apply to anything that claims to organize a shop looks like this. First, put-away friction. Can a tool go back in one motion, standing up, with one hand? If not, it will end up on the bench. Second, the material. Gauge steel you can feel in the lid flex, or hooks thick enough that a full shovel does not straighten them. Third, mounting. If the thing cannot be attached solidly to a stud, it is a shelf decoration. Fourth, whether it survives being loaded and then ignored for a month, which is how real shops treat storage.
For a kit, I check whether every piece has a molded home and whether the case has a drawer for the loose stuff, because loose stuff is what kills a kit. For a wall rack, I check hook spacing, hook gauge, and whether the rail can be leveled and anchored without a fight. Both pieces here pass those tests on paper. Neither one is a pro-grade chest, and I am not going to pretend otherwise.
The two pieces this setup starts with
You do not need a 52 inch rolling chest to get a garage under control. You need the small tools in something portable and the long tools off the floor. That is the whole starting position.
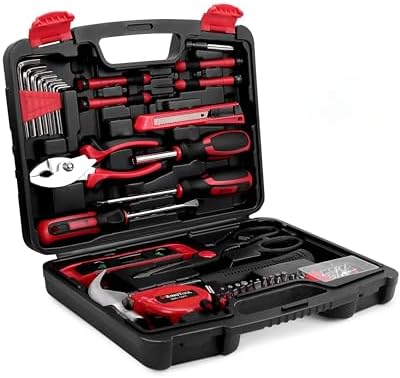
The starter set: KingTool 325 Piece Home Repair Tool Kit, General Home/Auto Repair Tool Set, Toolbox Storage Case with Drawer, General Household Tool Kit - Perfect for Homeowner, Diyer, Handyman
 Visit on Amazon →
A 325 piece kit sounds like overkill until you count the trips to the hardware store it prevents. The reason I put a kit first in a storage guide, not a chest, is that the case is the storage. This one is a general home and auto repair set with a toolbox storage case and a drawer, which means the small parts have somewhere to live instead of rolling around in a coffee can.
That drawer is the detail that matters. The classic failure of a starter set is that the sockets and bits live in a molded tray while the screws, anchors, and loose hardware end up in a pile in the bottom of a bucket. A case with a drawer gives the odds and ends a home, and the molded tray keeps the sizes where you left them.
This is aimed at the homeowner, the DIYer, and the handyman working on the house and the car, not at a working tech. If you turn wrenches for a living, this is the second set you keep in the house so you stop carrying your road box inside. If you are starting from nothing, it is the first set, and it comes in a box that organizes itself.
Flaws but not dealbreakers: 325 pieces includes a few things you will never touch, and the molded layout means you cannot easily add odd sizes you pick up later. It is also not pro grade, and the case will not survive being thrown in a truck bed every day. For a home garage, none of that matters.
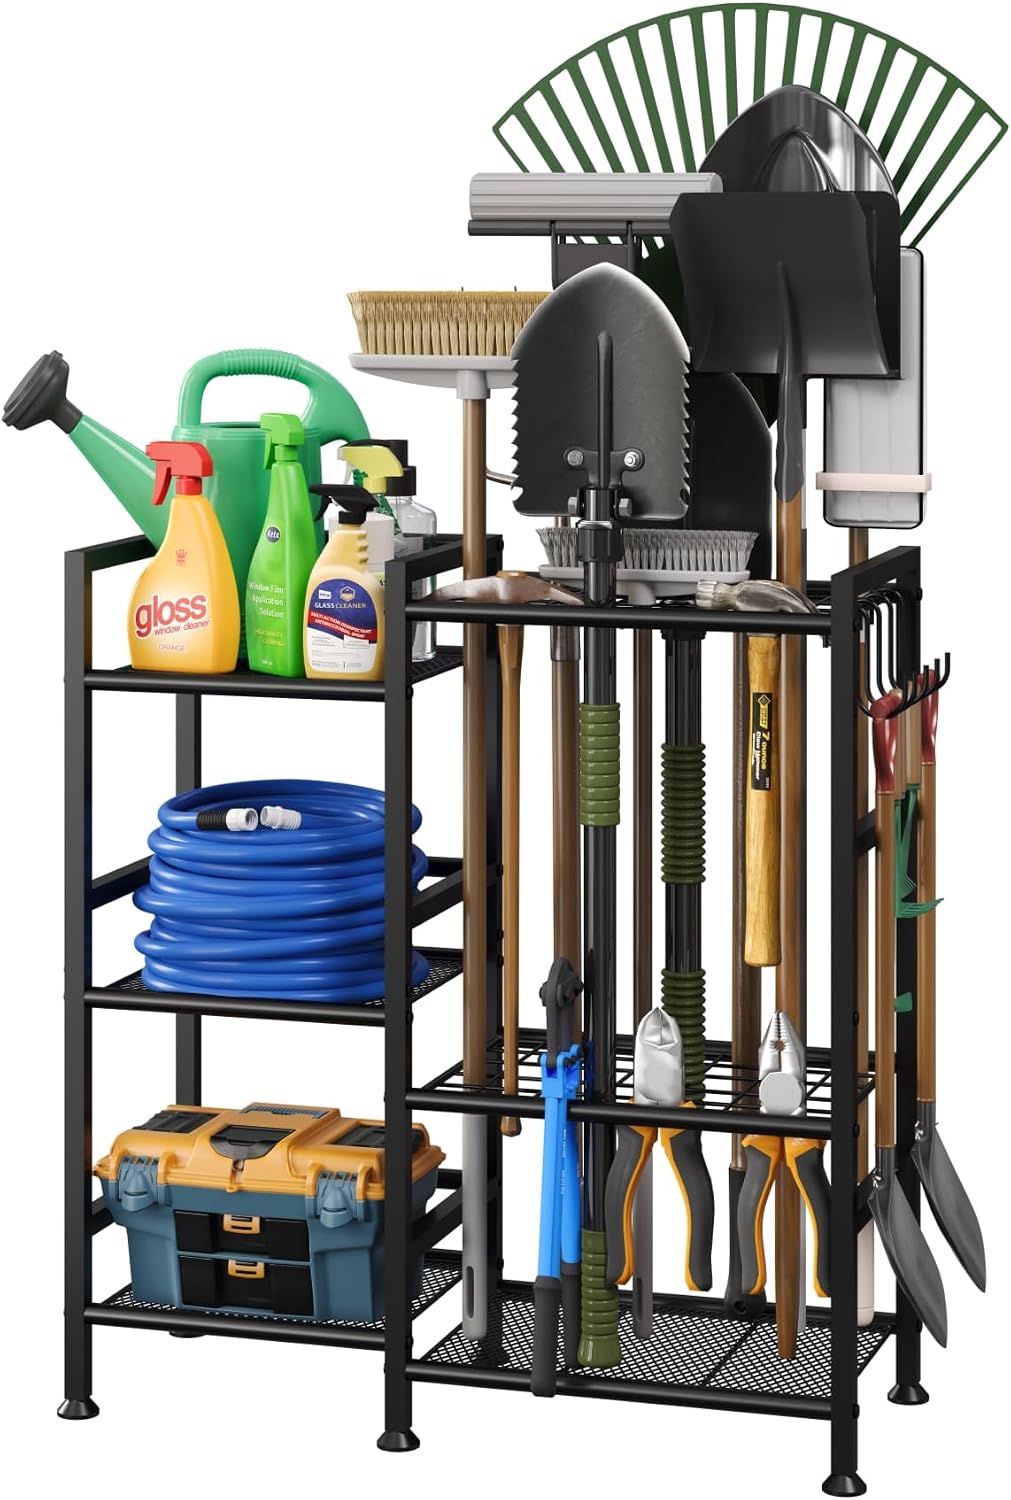
The wall rack: keomaisyto Garden Tool Organizer with Large Hooks, Garage Storage Rack
 Visit on Amazon →
Long handles are what break a garage. Shovels, rakes, brooms, hoes, squeegees, extension handles, the hose. They are too long for a drawer and too awkward for a shelf, so they lean in a corner, fall over, and take a paint can with them on the way down.
This is a garage storage rack with large hooks, and the large part is the point. A standard hook holds a broom handle fine and folds flat under a loaded shovel. Bigger hooks hold the tool and the handle together, which is what you need if you are hanging anything with weight on the head end. It goes on the wall, so the floor comes back, and the tools end up at a height you choose rather than the height the previous owner of your house chose.
Mounting is the entire job with a rack like this. Find the studs, level the rail, and use real anchors anywhere you are not in solid wood. Do that and it holds. Rush it and you will be patching drywall in a month.
Flaws but not dealbreakers: The rack holds what the hooks hold. If you stack three hoses on one hook because you are in a hurry, you are asking for a bend. It is also a wall mounted rack, so renters should check the lease before drilling, and anyone with a block or brick wall needs the right bit and anchors.
The actual setup, step by step
Now the part you came for. This works in a one car garage or a two bay shop, and it works in an afternoon.
Step one: Empty everything onto the floor. All of it. Every tool, every partial box of screws, every mystery bracket. You cannot organize a pile you cannot see, and you cannot see anything stacked on a shelf three deep.
Step two: Sort into three piles. Keep, fix, gone. Keep means it works and you used it in the last year. Fix means it is broken but worth repairing. Gone means the battery is dead, the handle is cracked, or you have not touched it since you moved in. Be honest about the third pile, because it is the one that eats your storage.
Step three: Group by reach, not by category. Most people sort hand tools with hand tools, which sounds right and works badly. Sort by how often you grab it. Daily tools go at waist height and within one step of where you stand. Monthly tools go higher or lower. Seasonal tools go on the rack or the top shelf. The tools you use every week should never be behind the tools you use twice a year.
Step four: Pick the wall before you buy anything else. Walk the garage and find the longest uninterrupted wall that is not behind a car door when both vehicles are parked. That wall gets the rack. Measure the height where the longest handle clears the floor and the shortest one is still reachable without a ladder.
Step five: Find the studs and mark them. A stud finder and a pencil, two minutes. Mark every stud along the run with a small piece of tape so you are not guessing with a drill in your hand.
Step six: Install the rack and load it heavy to light. Level the rail, drive the fasteners into the studs, and use proper hollow wall anchors anywhere you are between studs. Then load the heaviest, least used tools on the ends where they are out of the traffic path, and the daily use tools in the middle. Handles up, heads down, blades away from the walkway.
Step seven: Give the hand tools a home and put the case where you work. The kit case belongs within arm's reach of the bench, not in a cabinet across the garage. If it lives far away, you will carry tools to the bench and leave them there. If it lives close, the case becomes the drawer you never had.
Step eight: Set the one motion rule. Every tool goes back in one motion, with one hand, without moving anything else. If a tool fails that test, its home is wrong, not the tool. Fix the home, not your habits.
Step nine: Run a 30 day audit. After a month, look at the bench. Whatever is sitting on it is telling you its home does not work. Move that home, and the bench stays clear.
Where this setup goes wrong
The most common failure is buying storage before sorting. People buy a chest, fill it with the same chaos, and end up with an organized looking box full of disorganized drawers. Sort first, then buy only what the sort tells you to buy.
The second failure is friction slides. If the description says friction slides, walk away. In year two you will be pulling that drawer with both hands, and a drawer you have to fight is a drawer that stays open.
The third failure is mounting a rack into drywall with the hardware that came in the bag and calling it done. A loaded shovel hook is a lever, and a lever pulls fasteners out of drywall. Studs or real anchors, no exceptions.
The fourth failure is storing the kit somewhere convenient for storage instead of convenient for work. Portability is only an advantage if the case actually travels. Keep it near the bench and it will earn its place.
What I left out and why
I left out rolling chests on purpose. A chest is the right answer once you know what you own, and most garages that buy one early end up with three hundred pounds of steel holding a pile of unopened boxes. Do this setup first, live with it for a season, then buy the chest with real knowledge of what needs to fit in it.
I left out resin cabinets too. They are fine for light garage goods, and they are not tool storage no matter what the box says. I also left out modular stack systems. They are excellent, and they are for people who move tools between a truck and a job site. If your tools live in one garage, you are paying for portability you will not use.
What this all costs
Prices move constantly, so check the links rather than trusting a number in an article. What I can tell you is the math that matters. A rack and a kit together cost less than the tools you will replace this year because you could not find them, and far less than the weekend you will spend reorganizing the same pile twice.
The real cost is not money. It is the twenty minutes of sorting you have been avoiding. That twenty minutes is the difference between a garage where you can find a 10mm socket and a garage where you buy a fourth one.
Do the sort, mount the rack, put the kit where you actually work, and then leave it alone. The setup does the rest.